
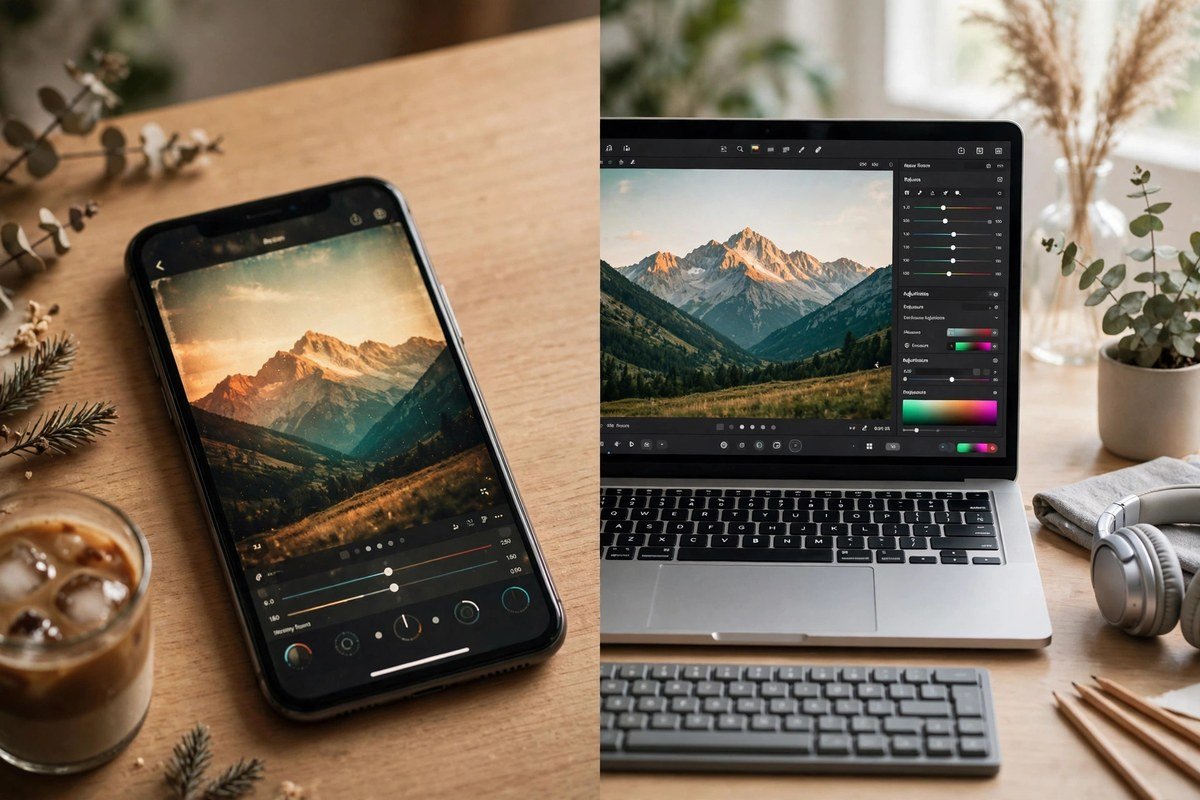
Lightroom Presets vs Filters: What’s the Difference?
Open any photo app and you will see two words used like they mean the same thing: presets and filters. They do not. A filter changes how a photo looks in one tap. A preset does that too — but it also remembers every slider behind the look, so you can adjust it, save it, and reuse it exactly. Knowing the difference between Lightroom presets vs filters saves you from buying the wrong thing, and from edits that look good on one photo and terrible on the next.
In this guide we explain what a preset is, what a filter is, and where LUTs fit in. You will see a side-by-side comparison, the pros and cons of each, and which one works best for portraits, weddings, and travel. By the end, you will know which tool to reach for — and how to use both together when that gives the better result.
What Is a Lightroom Preset?
A Lightroom preset is a saved set of edit settings. When a photographer edits a photo in Lightroom — adjusting exposure, white balance, contrast, the tone curve, colours, and sharpness — they can save all of those slider positions as one preset. Applying it to another photo applies every setting in a single click.
The important part is that nothing is locked. After you apply a preset, every slider is still there, exactly where the preset left it. If the skin looks too warm, lower the temperature; if the shadows are too dark, lift them. You can save your adjusted version as a new preset with your own name. Think of a preset as a recipe: it tells Lightroom what to do, and you can still change any ingredient.
Presets work on RAW and JPEG photos, on Lightroom mobile and desktop, and they sync between your devices. Photographers sell them in packs and share them for free. Our 15 free Lightroom presets for portraits are a good place to start.
What Is a Filter?
A filter is a fixed, one-tap effect built into an app. Instagram, your phone’s camera app, and apps like Snapseed all have them. You tap a filter, the photo changes instantly, and usually you get one slider — strength — to control how much shows.
Filters are fast and fun, which is why most people start with them. But you cannot see what the filter actually did. There is no list of settings to adjust, no tone curve to fix, and no way to get the same result on a second photo if the light is different. A filter is a finished dish: you can add a little salt, but you cannot change the recipe.
Filters also live inside the app that made them. A filter you love on Instagram does not exist in Lightroom, and one from your phone’s gallery will not follow you to your laptop. That is fine for a quick post, but not when you want twenty photos from one shoot to look like they belong together.
Lightroom Presets vs Filters: The Key Differences
The table below sums up the whole debate. Read it once and the choice becomes simple: filters are for speed, presets are for control.
| Lightroom Preset | Filter | |
|---|---|---|
| What it changes | Every edit slider — exposure, white balance, tone curve, colour | A fixed colour and contrast look |
| Adjustable after applying | Yes — every setting can still be changed | Usually only the strength slider |
| Works on | RAW and JPEG in Lightroom | Mostly JPEG inside one app |
| Best for | Consistent edits across many photos | Quick fun edits on a single photo |
| Teaches you editing | Yes — you can see every setting it changed | No — the settings stay hidden |
| Cost | Often free, or sold in packs | Usually free inside the app |
| Moves with you | Syncs across Lightroom mobile and desktop | Stays in the app that made it |
Notice the pattern: every row where control matters, the preset wins. Every row where speed matters, the filter wins. Neither tool is bad — they are built for different jobs.
What About LUTs?
You may also hear the word LUT, short for Look-Up Table. A LUT is a colour map: it takes each colour in your photo or video and replaces it with a different colour. LUTs are mostly a video tool — film editors use them to give footage a cinematic look in one step.
For photos, LUTs sit between a preset and a filter. They change colour only — they do not touch exposure, sharpness, or detail the way a preset does — and like a filter, you cannot see or adjust the steps inside them. Some photographers use LUTs in Lightroom through Creative Profiles, but for most photo editing, a preset gives you more control. If you edit video, learn LUTs; if you edit photos, learn presets first.
Pros and Cons of Lightroom Presets
Presets are the stronger tool for anyone who edits regularly.
- One click, fully adjustable. The speed of a filter with the control of a manual edit.
- Consistent results. Apply the same preset to a whole shoot and every photo shares the look.
- You learn as you use them. Opening a preset shows you exactly which sliders moved.
- They work everywhere Lightroom does. Mobile, desktop, RAW, JPEG — the same preset, the same result.
- They take a little learning. A preset applied to the wrong light looks wrong until you know which slider to fix.
- Good packs can cost money. Free presets cover most needs, but the best collections are usually paid.
Pros and Cons of Filters
Filters are the quicker tool, and for a single fun photo, quicker is often enough.
- Instant and effortless. Tap once and the photo is done — no learning needed.
- Free and built in. Every phone and social app already has them.
- Great for experimenting. Swipe through ten filters in ten seconds and see ten moods.
- No real control. If the filter makes skin orange, you cannot fix the skin without losing the look.
- Inconsistent across photos. The same filter looks different on every photo, so a set rarely matches.
- Locked to one app. You cannot take a favourite filter into Lightroom.
Lightroom Presets vs Filters for Portraits, Weddings, and Travel
It depends on the job. Here is how we choose.
Portraits
Presets win, and it is not close. Skin is unforgiving: a filter that adds warmth to a sunset photo will turn a face orange, and there is no slider to fix just the skin. A preset lets you adjust temperature and orange saturation separately, so the background keeps its warmth and the skin stays natural.
Weddings
Presets win again, for a different reason: volume. A wedding means hundreds of photos in different light — church, garden, reception hall — and they all need to look like one story. One preset across the whole set, with small exposure fixes per photo, gives you that consistency in an afternoon. Filters would make every photo look slightly different, and your clients would notice.
Travel and Everyday Photos
This is where filters earn their place. If you are posting one beach photo and want it to look good in ten seconds, a filter is the right tool. But if you want your whole travel feed to share one look, presets are still better. Many creators use both: presets for the feed, filters for a quick story.
How to Combine Presets and Filters
You do not have to choose one and abandon the other. The workflow that works best is simple: preset first, filter second, and never both at full strength.
Start in Lightroom. Apply a preset that matches the light, fix the skin and the exposure, and export. Then, if the photo still needs a mood — a little extra warmth, a film grain, a faded look — add a filter in your phone app at low strength, around 30 to 50 percent. The preset does the real editing; the filter adds the finishing touch.
What you should not do is stack a strong filter on top of a strong preset. Two heavy looks fight each other: colours go muddy, skin goes strange, and the photo looks over-edited. One strong look plus one gentle touch is the limit. If you are new to Lightroom, our guide to installing Lightroom presets on mobile walks through the setup, and you can download Lightroom free from the official Adobe Lightroom page.
Which One Should You Start With?
The Lightroom presets vs filters question really comes down to how much control you want. If you edit in Lightroom, even just on your phone, start with presets. Download a few free ones, apply them to your own photos, and open the sliders to see what changed. You will learn more in one afternoon of playing with presets than in a month of tapping filters.
If you never edit beyond your phone’s gallery and only post single photos, filters are fine for now. But the day you want ten photos to match, or a portrait to look right, come back to presets. They are waiting, most of them are free, and the skill stays with you on every photo you ever edit.
Frequently Asked Questions
Are Lightroom presets better than filters?
For control, consistency, and learning, yes. A preset adjusts every edit setting and lets you change each one afterwards. A filter is faster, but you cannot see or adjust what it did. For one quick post, a filter is fine; for anything you want to repeat, presets are better.
Can I use a filter and a preset on the same photo?
Yes. Apply the preset first in Lightroom, fix the exposure and skin, export, and then add a filter at low strength in your phone app if you want extra mood. Do not stack two strong looks — one strong edit plus one gentle touch is the limit.
Do presets work on phone photos?
Yes. Presets work on JPEG photos from any phone camera in the free Lightroom mobile app. They also work on RAW files if your phone shoots them, which gives you even more room to adjust.
Are free presets safe to download?
Free presets from a site you trust are safe. Only download preset files from sources you know, and never install a file that asks for permissions outside your photo app.
The Simple Rule to Remember
A preset is a recipe you can adjust. A filter is a finished dish you can only season. If you want speed, tap a filter. If you want control, consistency, and photos that look like they belong together, use a preset. Now you know the difference — go try both on the same photo and see it for yourself. If you want more looks to play with, the PresetsEditor homepage has our full preset and template collections.