Nagpuri Lightroom Presets
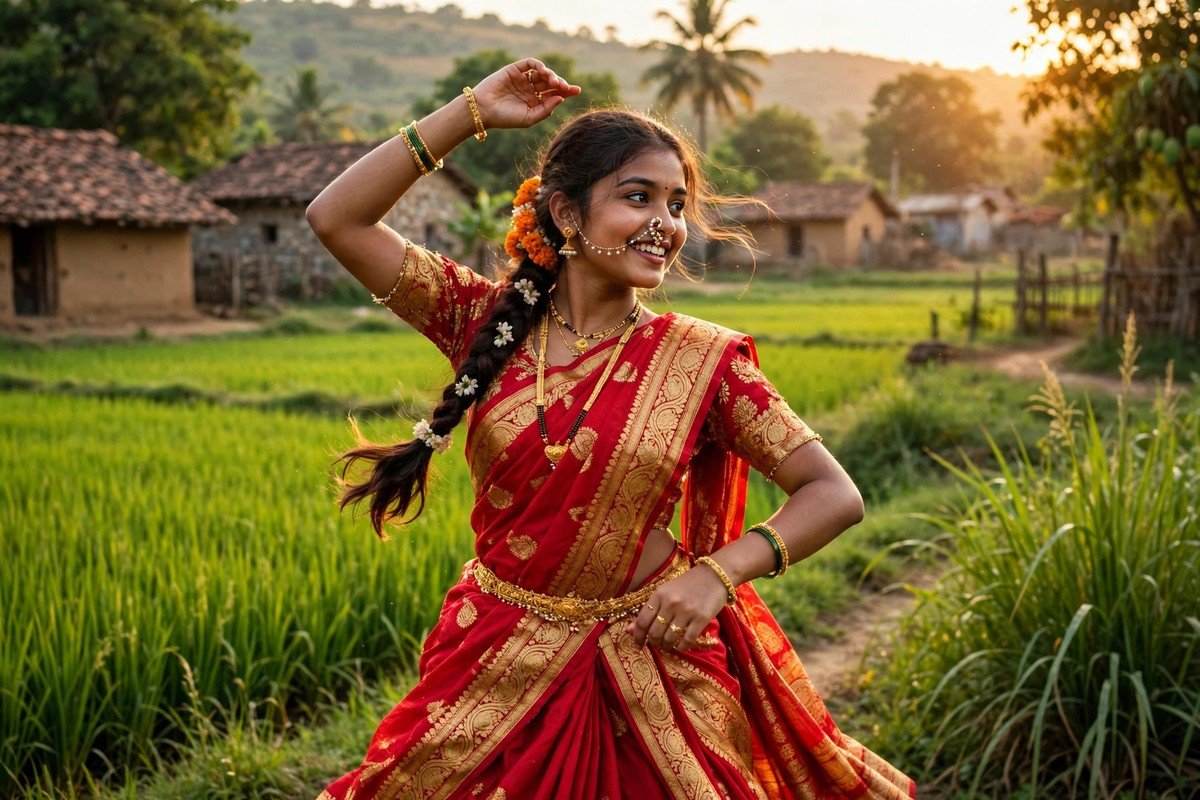
Watch a Nagpuri music video, a festive reel, or an outdoor portrait from Jharkhand, and you will feel the colour before you notice anything else. The greens are rich, the earth is warm, the clothes are bright, and the skin glows golden in the sun. That vibrant, warm, earthy finish is the heart of the Nagpuri Lightroom Presets style, and it is made for photos that should feel alive, joyful, and rooted in the outdoors.
This guide explains the look in plain language and shows you how to recreate it yourself in Lightroom. There is no preset file to download here, and no claim that these are anyone else’s original files. Instead, you get twelve named variations, the sliders behind them, and a simple workflow you can save as your own preset, then adjust for every photo you take.
What the Nagpuri Look Actually Is
The Nagpuri look is a warm, saturated edit built for daylight, nature, and celebration. It starts with a bright, well-lit photo and adds warmth, contrast, and colour in a way that makes the scene feel richer than real life, but still believable. Skin tones go golden, greens go deep and lush, reds and yellows get a gentle boost, and the sky stays blue without turning electric. The whole image feels sunny, even on a cloudy day.
What sets it apart from other warm styles is the earthiness. The browns, ochres, and greens of fields, forests, and village roads are not washed out or cooled down; they are kept strong and natural. That is why the style suits Nagpuri music videos, folk performances, harvest photos, and outdoor portraits so well. It honours the landscape instead of fighting it, and the person in the frame looks like they belong in that landscape.
Where This Style Shines — and Where It Does Not
- Music videos and reels: the vibrant grade reads clearly on small screens and matches the energy of dance and folk songs.
- Outdoor portraits: fields, forests, riversides, and village lanes give the warm colours something rich to work with.
- Festive shots: weddings, harvest festivals, and traditional dress look richer when reds, golds, and greens are boosted gently.
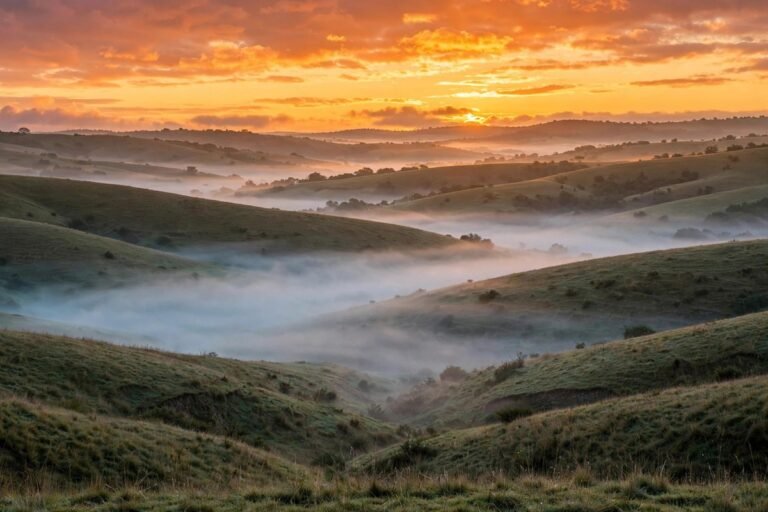
- Golden hour: the style was almost made for late-afternoon light, when the sun already warms everything it touches.
- Less suited to: dark indoor photos, formal studio portraits, and moody night shots, where a cooler, darker grade usually fits better.
If your photo is mostly indoors or mostly white, start with a cleaner, brighter preset instead, and save the Nagpuri warmth for the outdoors. For portraits in softer light, the skin-friendly options in our guide to the best Lightroom presets for portraits are worth comparing, because they protect skin tones in a similar way without the heavy outdoor colour.
Slider Guidance First: The Warm Earthy Base
Before you look at the twelve variations, learn the base they all share. Set exposure to +0.10 to +0.30 for daylight photos, so the face stays bright. Raise contrast to +10 to +25, lower highlights by -10 to -20, and lift shadows by +10 to +15 so the greens and earth tones keep their detail. Set temperature to +6 to +12 toward warm, and add a small tint shift toward yellow if the photo looks too pink.
Raise vibrance by +15 to +25, and saturation by only +5 to +10, so colours feel rich without looking fake. In HSL, raise green saturation by +10 to +15 and yellow saturation by +5 to +10, raise orange luminance by +5 to +10 for golden skin, and keep blue saturation moderate so the sky does not overpower the subject. Add clarity of +5 to +10, a gentle S-curve, and a little sharpening. That base alone will already look Nagpuri. The variations below simply push one part of it further. Adobe’s official Lightroom guides explain each of these panels if you are new to them.
Twelve Nagpuri Looks to Recreate
- 1. Vibrant Village Green: the classic version. Greens go deep and lush, skin goes warm, and the whole photo feels like a bright day in the fields. Use it for wide outdoor shots where the landscape matters as much as the person.
- 2. Golden Harvest: built for wheat, mustard, and harvest scenes. Yellows and golds are boosted, the light feels like late afternoon, and the photo glows without losing detail in the crops or the clothes.
- 3. Earthy Folk Warmth: the most natural variation. Browns and ochres are kept strong, saturation is moderate, and skin looks healthy and real. It suits folk performances, traditional dress, and documentary-style portraits.
- 4. Festival Red Pop: made for celebrations. Reds are boosted carefully, golds are warmed, and the background is darkened slightly so bright clothes stand out. Pull red saturation back if it starts to look too strong.
- 5. Riverside Glow: built for water, riverbanks, and monsoon greens. Blues are kept calm, greens are rich, and the highlights get a soft warm glow. It suits travel photos and outdoor shoots near water.
- 6. Warm Sunset Portrait: the golden-hour version. Orange tones rise, shadows stay warm, and the face is kept bright against a glowing sky. Use it when the sun is low and the light is already golden.
- 7. Forest Deep Green: the darkest green variation. Greens go deeper and slightly cooler, while skin stays warm as the contrast. It suits forest paths, dense trees, and shaded outdoor portraits.
- 8. Bright Day Celebration: the lightest version. Exposure rises a little, whites stay clean, and colours are bright but controlled. It suits group photos, daytime events, and family pictures in full sun.
- 9. Retro Nagpuri Film: a vintage twist, with faded blacks, a warm yellow cast, and a hint of grain. It suits old-style outfits, village lanes, and nostalgic reels that should feel like a memory.
- 10. Dance Reel Energy: the boldest variation, made for music videos and dance reels. Contrast and saturation go higher, clarity rises, and the colours pop on small screens. Keep the face bright, or the bold colours will steal attention from the dancer.
- 11. Soft Earthy Portrait: the gentlest version. Contrast is lower, shadows are lifted, and the warm earthy grading is subtle. It suits close-up portraits and softer moments where a heavy edit would feel wrong.
- 12. Monsoon Fresh: built for cloudy and rainy days. Greens are boosted, the light is brightened slightly, and the photo feels fresh instead of grey. It turns flat monsoon light into a vivid, lively scene.
How to Recreate the Look in Five Steps
Step one, fix the light. Choose a daylight photo, correct the white balance, and set exposure so the face is clear. A warm preset on a photo that is already too yellow will turn skin orange, so get this right first.
Step two, build the warm base. Raise the temperature, add vibrance, and shape the Tone Curve with a gentle S-shape. The photo should already feel warmer and richer at this stage, before you touch any single colour.
Step three, grade the colours. Use HSL to deepen the greens, warm the oranges for skin, and boost the reds and yellows only where the photo needs them. Check the skin at full size after every change, because it is the easiest part to push too far.
Step four, shape the scene. Darken a distracting background slightly, brighten the face with a radial mask if needed, and add a little clarity for the crisp outdoor finish. Do not sharpen a blurry photo; it will only look rougher.
Step five, save and reuse. Keep the finished settings as your own preset, then use it on your next photo, changing only exposure and white balance. If you need the phone saving steps in full, the mobile install walkthrough at how to install Lightroom presets on mobile covers each tap.
Mobile and Desktop Tips
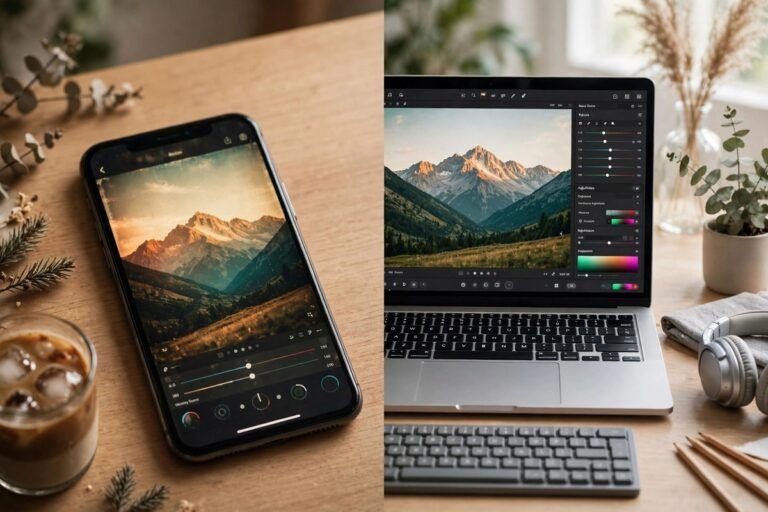
On a phone, the free Lightroom app is where most creators build this look. Brighten just the face with the Selective tool, leaving the rest of the scene alone, and clean up small distractions with Healing before you add any contrast. Export at the best quality, and skip an extra Instagram filter on top — it would double the warmth and saturation.
On a computer, the Calibration panel lets you nudge greens slightly toward yellow for that earthy feel, and local masks let you warm the subject while the sky stays natural. A desktop also handles batch-editing a music-video shoot better, so every frame shares one warm base. If you shoot outdoors a lot, try your preset on a few different scenes first — similar warm looks can behave differently across bright daylight and varied landscapes.
Tips to Keep the Colours Rich, Not Fake
- Use vibrance before saturation. Vibrance protects skin while saturation affects everything, so raise vibrance first and add saturation only if you still need it.
- Protect the skin. If the face looks orange, lower orange saturation in HSL before you change the temperature.
- Keep the sky natural. A sky that is too blue or too yellow will fight the subject. Desaturate blue slightly and check it against the skin.
- Do not overdo the greens. Deep greens look lush, but neon greens look edited. Pull green saturation back if the trees look unreal.
- Match the variation to the mood. Dance Reel Energy suits a music video, but Soft Earthy Portrait suits a quiet close-up. One preset does not fit every photo.
- Check on your phone. Colours look different on a desktop screen. Preview at full brightness on your phone before you export.
Frequently Asked Questions
Do Nagpuri Lightroom Presets work for portraits only? No. They work for landscapes, festivals, and music-video stills too, as long as the photo is outdoors in good light. Close-up portraits just need the softer variations.
Can I build this look on Lightroom Mobile? Yes. Every slider used here — HSL, Tone Curve, and temperature — is available on mobile. Desktop only adds finer masks and batch editing.
Why do my greens look neon? Green saturation was raised too much, or vibrance and saturation were both pushed high. Lower green saturation in HSL and raise vibrance instead of saturation.
Will this style work in winter or cloudy light? Yes, with the Monsoon Fresh or Soft Earthy Portrait variation. Raise exposure slightly and keep the warmth moderate, so the photo feels fresh rather than forced.
Final Thoughts
The Nagpuri look works because it celebrates colour: warm skin, deep greens, rich earth, and bright festive tones, all in one sunny frame. Learn the warm earthy base, pick the variation that fits your photo, and save your own preset. With small adjustments for light and skin tone, that preset will carry your outdoor portraits, your festive shots, and your reels.